In the Spring, at the end of the day, you should smell like dirt.
—MARGRET ATWOOD, Bluebird’s Egg, 1983

Pandemic shutdowns saw more and more Americans turning to the great outdoors. The AllTrails hiking app reported a 171% increase in the number of logged hikes. That’s crazy! From what I’ve seen on the trails, it doesn’t seem like interest in hiking is waning any time soon. But do hikers ever think about the trails under their feet? How did it get there?

Trail building is near and dear to my heart. For two years in a row in college, I spent a week in Tennessee working to build the Cumberland Trail. This was such an incredible experience and gave me a deeply held appreciation for trails and the people that work tirelessly to build and maintain them. I wanted to use August’s Nature Nugget to talk a little bit about what goes into trail building!
Tools of the Trade
What hikers don’t realize is that most trails are made completely by hand. Most times, large vehicles and diesel machinery are too big and disruptive to bring out into the woods. Most of the tools used might not look too different from what’s in your shed! Think hand clippers, hoes, loppers, and axes. But there are a few other helpful tools for trailbuilding:

Mattock – This is my favorite trail tool! It’s a double headed tool that kind of looks like a cross between an ax and a hoe. It’s perfect for cutting into the soil and also for chopping through roots.

McLeod – This is another double purpose tool. One side has tongs like a rake for moving dirt while the flat side is sharpened and can cut through dirt and roots.

Rock Bar – this is a long sturdy metal rod that can be used to maneuver very heavy items like rocks and stumps.
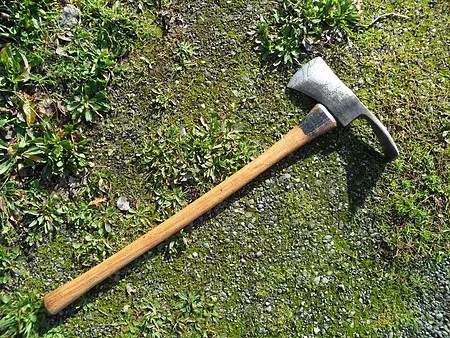
Pulaski – Another double headed tool, this is similar to the maddox but with an axe blade on one side and a small adze or hoe on the other.
Process
Okay so now that we have our tools, how do you build a trail? There’s a great deal of science that goes into trail building but we’ll stick to the basics here. The key to a good trail is making it sustainable. This means that they can withstand wear and weather without greatly impacting the surrounding environment as well as needing little maintenance.
DUFF – A layer of decaying organic plant matter (leaves, needles, etc.) on the ground. It is highly absorbent and quickly erodes under traffic.
Jim Schmid, Trails Primer, 2001
After the trail has been marked, it’s time to start digging. Using our trusty tools, the first cuts into the soil are made. If working on a relatively flat area, just clear off the top layers of leaves and rich earth (called duff) until you reach a soil change, removing rocks and tree roots as needed. Duff is easily eroded so it needs to be cleared away. If working on a hillside, things are gonna be a bit tricker. The duff still needs to be cleared away but a deeper cut is needed on the uphill side so that a fairly flat trail can be cut. The trail should always be slightly higher on the uphill side so that water can run off but never so sloped that hikers will roll their ankles.
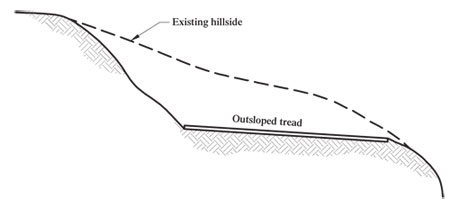
The biggest destroyer of trails isn’t hikers, it’s actually water! A poorly planned trail can quickly disintegrate from wash out or standing water. So it’s really important to have an understanding of water runoff where you’re building a trail. You always want the trail sloping slightly downhill so that water won’t be left pooling on the trails. You also want an up hill backslope at around 45 degrees so that water rolls down it instead of cascading off of it. Trail builders will also incorporate grade reversals where the trail will dip slightly to a point where water can run off.

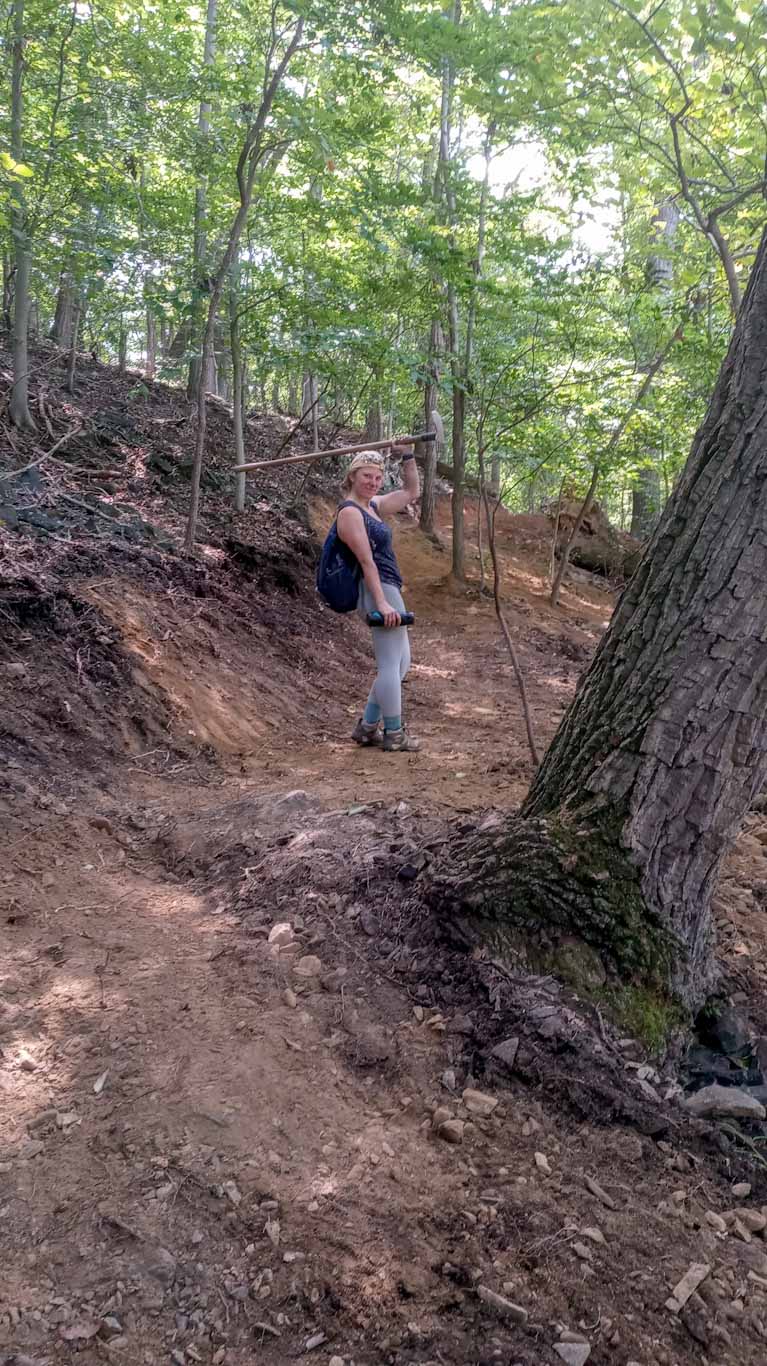
Some trails require more work and special technique than others. Last weekend, we worked on a particularly rocky section which meant that one part needed a retaining wall. To do this we sourced large flat rocks from other parts of the trail and built up a wall, compacting it with dirt and smaller stones. This technique lets you build a wide enough trail on a very steep incline. Also on steep hillsides, builders might put in a switchback which is a hairpin turn in the trail that provides a water runoff point and also makes a gentler slope down a steep hill. Sometimes steps can be made with large rocks to offset a steep downhill. Very advanced builders can even make bridges and other water crossings with large rocks. Next time you see a really interesting rock feature as part of a trail, remember that it was most likely moved by hand!
So after reading all of this, I hope you have a greater appreciation for the amount of work that goes into building a trail! To put it into perspective, J and I worked for about 3 hours on the trail and probably only completed 25ft. And if you’re crazy like us and think trail-building might be for you, here are some local and national resources:
- Friends of the Patapsco Valley State Park (Maryland) – https://fpvsp.org/
- Cumberland Trail Conference (Tennessee) – https://www.cumberlandtrail.org/
- Montgomery County Trails (Maryland) – https://www.montgomeryparks.org/support/volunteer/trail-volunteers/
- Mountain Club of Maryland – https://mcomd.org/?page_id=37
- Appalachian Trail Conservancy (Multi-state) – https://appalachiantrail.org/get-involved/volunteer/
- American Hiking Society (National) – https://americanhiking.org/volunteer-vacations/
- American Trails (National) – https://www.americantrails.org/volunteer-opportunities
Know of any other trail building opportunities? Please share in the comments!

Sources:
- https://www.americantrails.org/images/documents/TNpathways.pdf
- https://www.fs.fed.us/t-d/pubs/htmlpubs/htm07232806/page08.htm
- https://masondixontrail.wixsite.com/mdts/trail-maintenance
- https://www.pcta.org/wp-content/uploads/2012/11/Terminology_v0311.pdf
- https://www.fs.fed.us/t-d/pubs/htmlpubs/htm07232806/page06.htm#grad
- https://decideoutside.com/how-are-hiking-trails-made/
- https://www.fs.usda.gov/Internet/FSE_DOCUMENTS/stelprdb5343897.pdf
- https://jimstrailresources.wordpress.com/trail-quotes/
