Popping on with my first Nature Nugget in ages! As I’m sure a lot of you are aware, the Spotted Lanternfly is an invasive species that has spread across the United States. Currently, many counties in Western Pennsylvania are under a quarantine in order to mitigate the further spread of this harmful creature. You may have seen a lot of ads and billboard talking about squishing these bugs. It may seem harsh, but these swarming bugs cause serious damage to plants. Because of this, they have been labeled a “plant stressor” in that they will contribute to the “long-term weakening of established plants and trees”. These bugs are particularly harmful in the agriculture industry which is why everyone can help slow the spread of them!
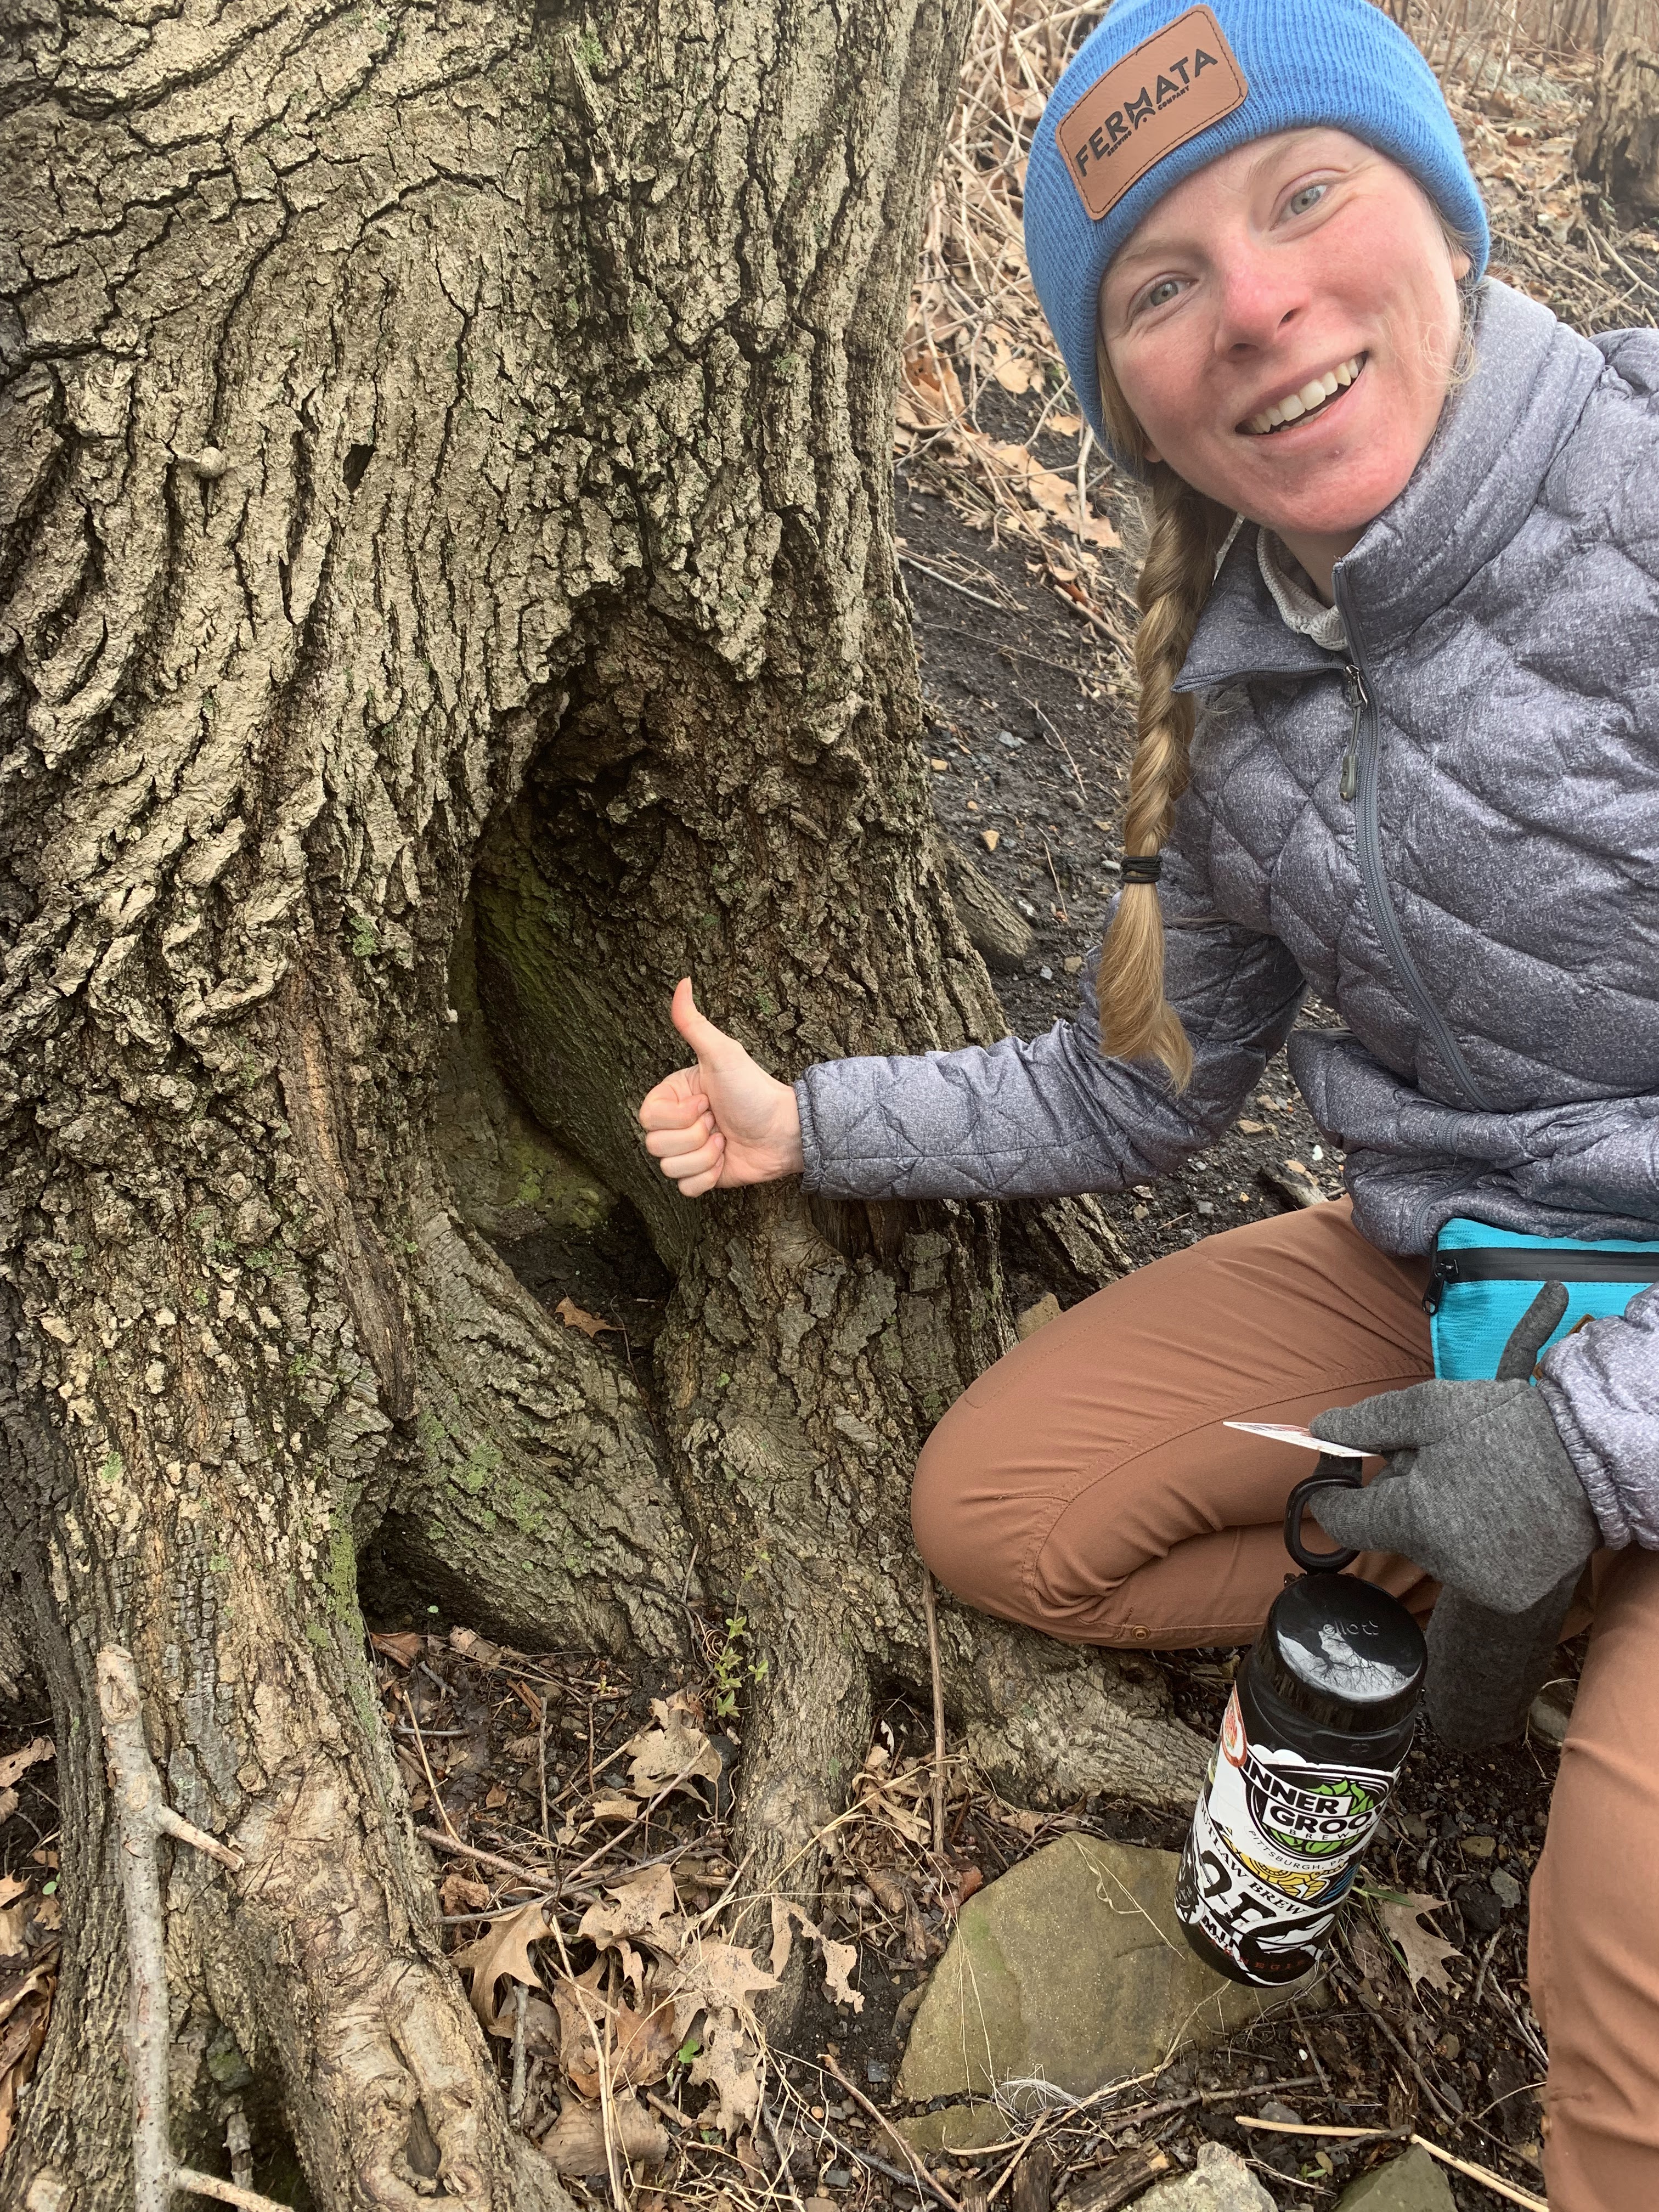
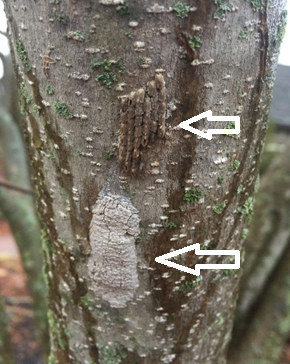
.Spotted Lanternflies are dormant right now, BUT there is still something you can do to help eradicate them. Whenever you’re out hiking or walking around your neighborhood, keep an eye out for egg masses. The Spotted Lanternfly lays egg masses in September to November which will then hatch in late April to June. Each one of these egg masses can contain 30-50 individual eggs. Ugh! Egg masses are typically found on trees, near the base but can also be found on other smooth surfaces like buildings or concrete. Especially on trees, they might be hiding in the ridges between bark.
PA Department of Agriculture
We got together with some other nature lovers last weekend to Smash and Trash the Spotted Lanternfly. We learned from rangers and an entomologist how to identify the egg masses and how to squish them so the eggs cannot hatch. In just over an hour, our small but mighty team managed to squash over 30,000 eggs! I’m definitely going to be keeping my eyes open for these masses as I take more hikes these Spring. Every little bit helps to eradicate this invasive species!
Please note that PennState Extension is still requesting that all sightings of Lanternflies be reported! This information is incredibly helpful in gathering data about the spread of these pesky critters.
It’s September in Maryland and do you know what that means? PAWPAW SEASON! Okay let’s take a step back because chances are, you might not know what pawpaws are! Pawpaw trees (Asimina triloba) are native to the eastern US into Canada and produce a fruit in the late summer/ early fall. It’s actually the largest fruit indigenous to the United States! Cool right? So bright green pawpaw fruit start forming in the summer but come Fall they will ripen and turn soft and might even look slightly yellow-brown. They’re best eaten when they’re either fallen from the tree or easily come off the stem.
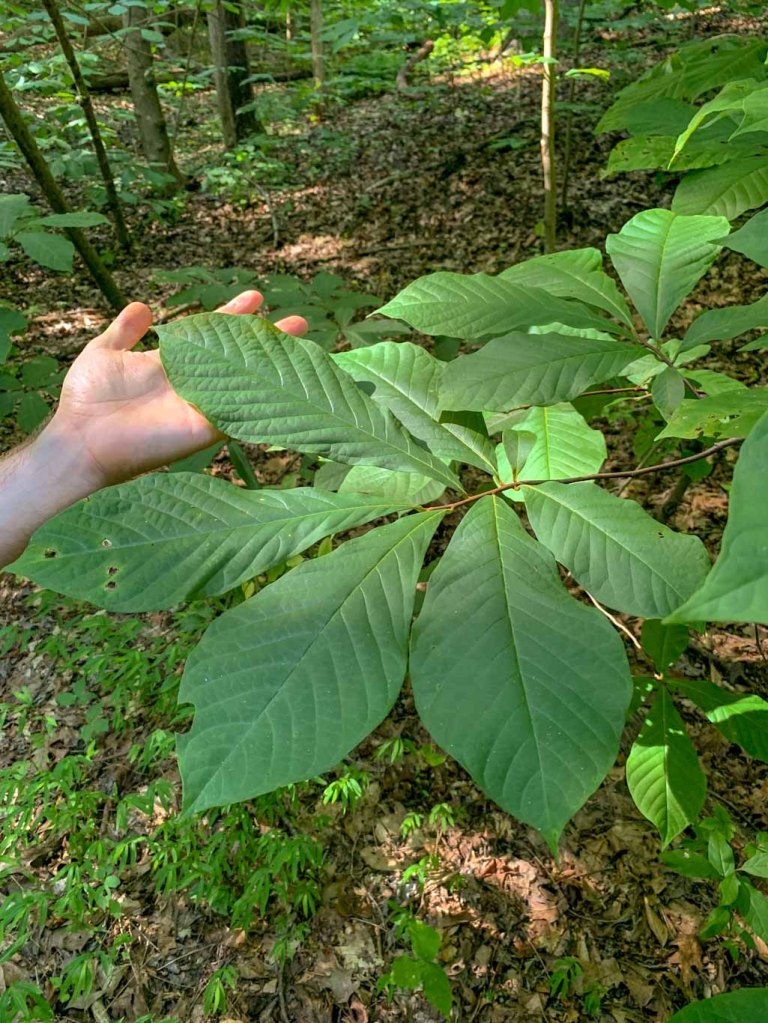
Pawpaw trees have really large, long leaves on spindly trunks. They prefer growing in bottom land that is very fertile and well-draining. I always keep my eyes out for them along stream and river beds. They’re considered an undergrowth tree, which means that they grow in the shade of larger trees. They can grow up to 30ft tall and are usually found in hardwood forests.
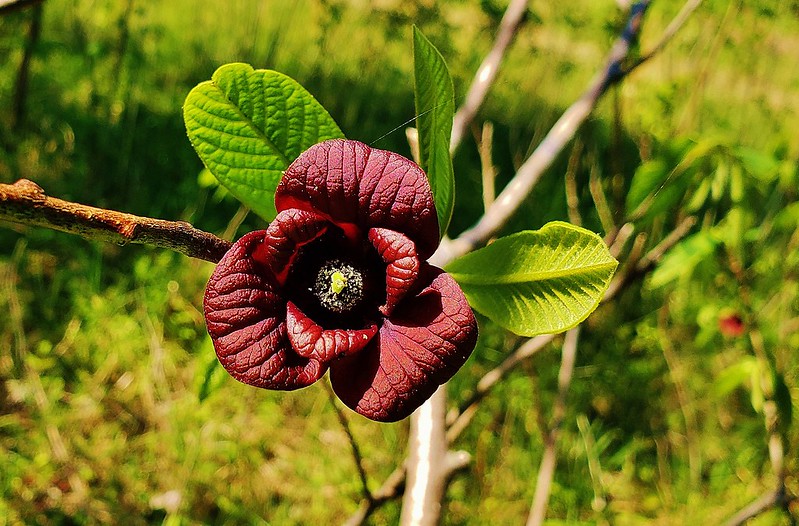
Pawpaw flower
In the springtime, the pawpaw produces flowers with six petals arranged in sets of three. They are a beautiful deep maroon color but they don’t smell too nice! Around the same time that the flowers emerge, the tree begins putting out its signature huge oblong leaves. They are bright green most of the season and then turn to yellow and brown after it drops its fruit.
But what you probably want to know more about is the fruit! Pawpaw fruit is soft and creamy, often compared to custard. In fact, it’s very similar to bananas which over the years has given it a variety of colloquial names including: wild banana and Appalachian banana. The fruit contains several large brown seeds in a row and these seeds along with the peel are not edible.
Freshly cut pawpaw with visible seeds
History
Although you won’t find a pawpaw in the grocery store, they do have a long history in this area. Pawpaws were so important to the indigenous Shawnee people, who inhabited the Ohio Valley, that they named a month for them! In the Shawnee language September is literally called the Pawpaw Moon. The first written record of pawpaws dates back to 1541 when a Spanish explorer wrote of seeing Indigenous peoples harvesting them. Pawpaws were even enjoyed by founding fathers, with Thomas Jefferson planting groves at Monticello and one of George Washington’s favorite desserts was chilled pawpaw. Lewis and Clark even snacked on them during their expedition west!
Use and Popularity
Gazing longing at a pawpaw that’s not ripe yet
Pawpaws have grown in popularity with the increased interest in local foraging. Pawpaw fruits are notoriously difficult to transport as their flesh bruises easily and they quickly rot once they have been picked. However, more and more people are realizing how easy it is to find pawpaws around their own neighborhoods! On one of our hikes at the American Chestnut Land Trust, J and I found a huge pawpaw grove. Sadly, they weren’t ready to be picked yet. Another weekend, we were walking along the C&O Canal and found a whole group of people harvesting pawpaws. They were kind enough to share their loot with us so we had a tasty snack for our walk. Then finally, I found some pawpaws within walking distance from my home. I actually was out running and completely abandoned that when I found a tree with perfectly ripe pawpaws. I harvested a few, leaving some for others, and brought them home to gather the puree.
My pawpaw loot
This was my very first attempt at making something with pawpaws. I usually just eat them raw (which is delicious) but I had been hearing a lot about how tasty they are in ice cream or baked goods. I got about 2 cups of pulp from my pawpaws so I decided to make bread. I took my favorite banana bread recipe and just subbed the pawpaws in for the fruit. I thought it was delicious and interestingly the bread turned pink! Apparently pawpaw fruit reacts with baking soda to turn it a light pink color. My whole family really liked the bread and we thought it tasted slightly berry-like. It was perfect for breakfast with a cup of coffee. I’m calling this bake a success! I think next time I would maybe add cinnamon or ginger. Have you ever tried a pawpaw? What did you think?
Hannah’s Pawpaw Bread
1 ¼ cup sugar 2 eggs ½ cup unsalted butter, softened 2 cups pawpaw puree ½ c plain Greek yogurt 1 tsp vanilla 2 ½ cups flour
Preheat oven to 350F. Grease the bottom of a 9 in loaf pan. Cream together butter and sugar. Stir in eggs and vanilla. Add pawpaw puree and yogurt. Beat until smooth. Stir in flour, baking soda, and salt until just combined. Don’t over mix! Pour into pans and bake for about an hour and 15 mins. This makes one very large loaf or two smaller loaves. If making muffins, bake for about 25-30 mins. Enjoy!
In the Spring, at the end of the day, you should smell like dirt.
—MARGRET ATWOOD, Bluebird’s Egg, 1983
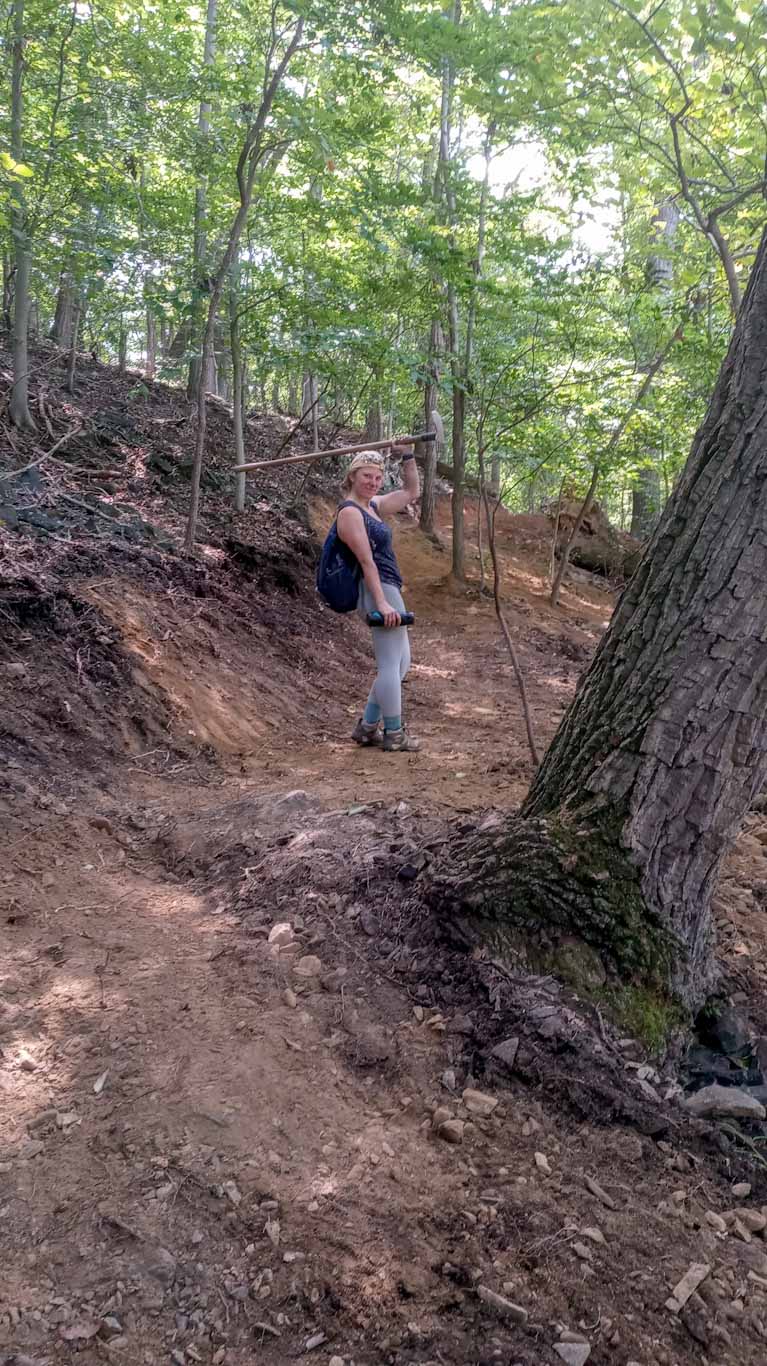
Posing with my rock free trail! This was FULL of big rocks that we had to dig out and move.
Pandemic shutdowns saw more and more Americans turning to the great outdoors. The AllTrails hiking app reported a 171% increase in the number of logged hikes. That’s crazy! From what I’ve seen on the trails, it doesn’t seem like interest in hiking is waning any time soon. But do hikers ever think about the trails under their feet? How did it get there?
Throwback pic of Baby Hannah crushing some rocks on the Cumberland Trail in Tennessee (2013). You know you’re jealous of those overalls!
Trail building is near and dear to my heart. For two years in a row in college, I spent a week in Tennessee working to build the Cumberland Trail. This was such an incredible experience and gave me a deeply held appreciation for trails and the people that work tirelessly to build and maintain them. I wanted to use August’s Nature Nugget to talk a little bit about what goes into trail building!
Tools of the Trade
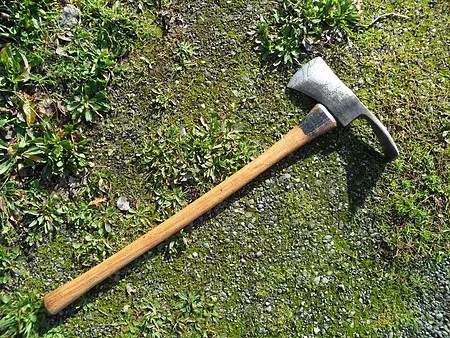
What hikers don’t realize is that most trails are made completely by hand. Most times, large vehicles and diesel machinery are too big and disruptive to bring out into the woods. Most of the tools used might not look too different from what’s in your shed! Think hand clippers, hoes, loppers, and axes. But there are a few other helpful tools for trailbuilding:
Mattock – This is my favorite trail tool! It’s a double headed tool that kind of looks like a cross between an ax and a hoe. It’s perfect for cutting into the soil and also for chopping through roots.
McLeod – This is another double purpose tool. One side has tongs like a rake for moving dirt while the flat side is sharpened and can cut through dirt and roots.
Rock Bar – this is a long sturdy metal rod that can be used to maneuver very heavy items like rocks and stumps.
Pulaski – Another double headed tool, this is similar to the maddox but with an axe blade on one side and a small adze or hoe on the other.
Process
Okay so now that we have our tools, how do you build a trail? There’s a great deal of science that goes into trail building but we’ll stick to the basics here. The key to a good trail is making it sustainable. This means that they can withstand wear and weather without greatly impacting the surrounding environment as well as needing little maintenance.
DUFF – A layer of decaying organic plant matter (leaves, needles, etc.) on the ground. It is highly absorbent and quickly erodes under traffic.
Jim Schmid, Trails Primer, 2001
Smelly and dirty, but victorious!
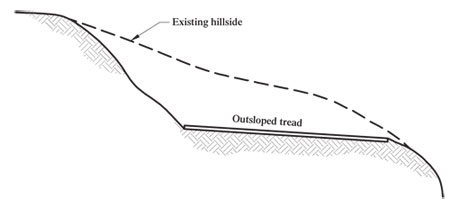
After the trail has been marked, it’s time to start digging. Using our trusty tools, the first cuts into the soil are made. If working on a relatively flat area, just clear off the top layers of leaves and rich earth (called duff) until you reach a soil change, removing rocks and tree roots as needed. Duff is easily eroded so it needs to be cleared away. If working on a hillside, things are gonna be a bit tricker. The duff still needs to be cleared away but a deeper cut is needed on the uphill side so that a fairly flat trail can be cut. The trail should always be slightly higher on the uphill side so that water can run off but never so sloped that hikers will roll their ankles.
Full Bench trail construction allows water torunoff easily
The biggest destroyer of trails isn’t hikers, it’s actually water! A poorly planned trail can quickly disintegrate from wash out or standing water. So it’s really important to have an understanding of water runoff where you’re building a trail. You always want the trail sloping slightly downhill so that water won’t be left pooling on the trails. You also want an up hill backslope at around 45 degrees so that water rolls down it instead of cascading off of it. Trail builders will also incorporate grade reversals where the trail will dip slightly to a point where water can run off.
J and I worked tirelessly on building this retaining wall!
Some trails require more work and special technique than others. Last weekend, we worked on a particularly rocky section which meant that one part needed a retaining wall. To do this we sourced large flat rocks from other parts of the trail and built up a wall, compacting it with dirt and smaller stones. This technique lets you build a wide enough trail on a very steep incline. Also on steep hillsides, builders might put in a switchback which is a hairpin turn in the trail that provides a water runoff point and also makes a gentler slope down a steep hill. Sometimes steps can be made with large rocks to offset a steep downhill. Very advanced builders can even make bridges and other water crossings with large rocks. Next time you see a really interesting rock feature as part of a trail, remember that it was most likely moved by hand!
So after reading all of this, I hope you have a greater appreciation for the amount of work that goes into building a trail! To put it into perspective, J and I worked for about 3 hours on the trail and probably only completed 25ft. And if you’re crazy like us and think trail-building might be for you, here are some local and national resources:
Friends of the Patapsco Valley State Park (Maryland) – https://fpvsp.org/
If a tree falls in the forest…should it stay there?
We’ve all seen fallen trees in the woods. Whether it’s from a bad storm or just the end of a tree’s life, eventually a tree will die. If you’re like me, you’ve noticed that in some state parks and forests, when a tree falls it’s just left there. Coming from a world of manicured lawns where anything unsightly is removed, this always felt wrong to me. Shouldn’t they remove the log? Can’t it be used for something?
In today’s Nature Nugget, I want to talk about how dead and decaying trees actually form an important part of a forest’s ecosystem. Although the tree has died, its part in the story is just beginning! But first some terminology: a dead tree that has fallen is a log. A dead tree that is still standing is a snag.
Fallen tree that was cut to remove from trail
What do dead and decaying trees provide?
Roosting spot for birds such as woodpeckers
Main home for bugs like ants, beetles, wasps and bees. Dead logs are also prime homes for larger critters like salamanders, frogs, and even snakes. Some scientists estimate that dead wood provides food and homes for more than 40% of forest wildlife species!
Form the bottom of the food chain for detritivores (organisms that feed on dead material) like fungi and bacteria which are then consumed by other animals
Fungi growing on decomposed log
Prevents erosion by reducing stormwater runoff. Logs in running water also prevent bank erosion, as well as trap sediment so that it doesn’t flow any further along.
Replenishes nutrients in the soil. Research has shown that trees are the main source of organic material in soil!
Plays an important role in forest regeneration. Not only does a fallen tree open up the canopy and make room for new trees, they also can become an extremely fertile growing medium for seeds and seedlings that have gathered there.
In ponds and streams, downed trees serve as sunning spots for turtles, fishing perches for birds, and even nests for fish.
Turtles sunbathing on a log
I think it’s pretty clear that dead tree are essential to the forest ecosystem! Now some people might be wondering about dead hazards and that’s a good point! Dead trees, especially snags can be seen as a fire hazard. And with wildfires constantly in the news, it’s definitely something to be concerned about! But remember, some wildfires are natural and can even be good for the ecosystem. There are certain species of plant that even need fire in order to germinate! However, if you have a dead tree on your property, you should get it removed. Dead wood is still a fire hazard and also a falling hazard especially near homes and people. Leave the dead wood to the forest!
Dead and decaying trees form an important part of a forest’s ecosystem. That’s why they are often left on the forest floor in parks. It doesn’t mean that the park isn’t well taken care – quite the opposite actually! Next time you pass a decaying tree, just think of all the life that could be starting a new inside of it.
“Of all the paths you take in life, make sure a few of them are dirt.”
John Muir
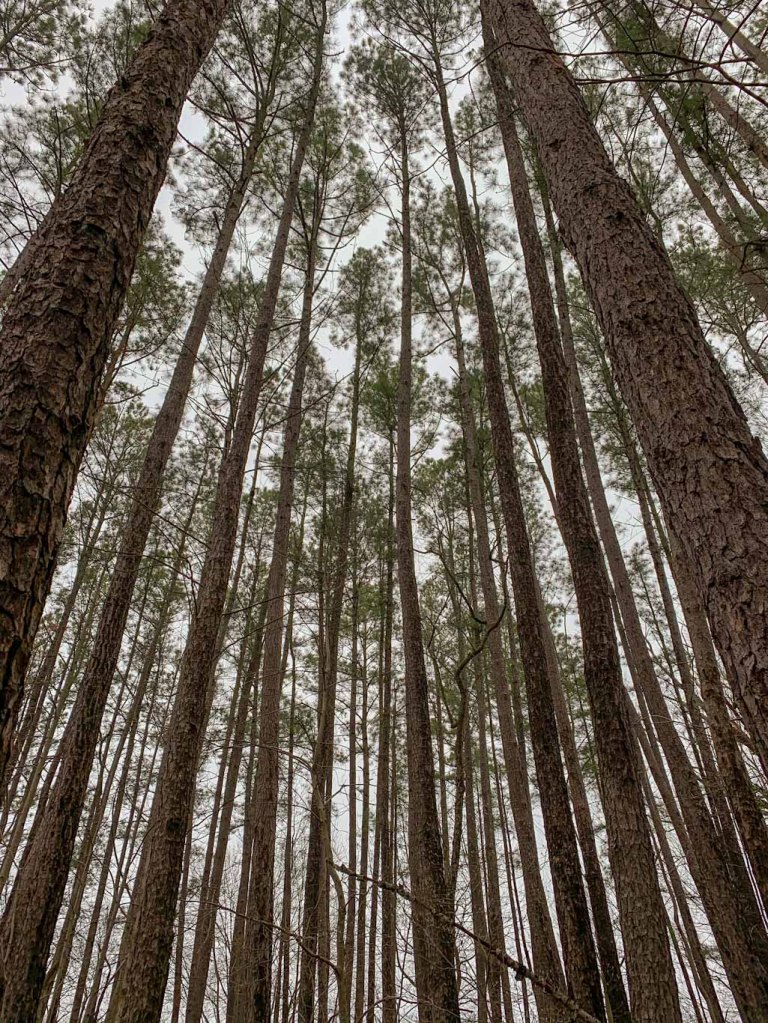
Pine Grove in Seneca Creek State Park
Guys I wanna take a sec to talk about trail etiquette. Since the onslaught of COVID-19 there are more people than ever interested in hiking (YAY)! But I’ve also been seeing a lot of bad trail etiquette (BOO). So I want to talk a little bit about what to expect in the woods and how to be a good neighbor to your fellow nature-lovers, including plants and animals.
Leave. No. Trace – Guys, if you forget everything else from this post please please please remember this one thing. Everything you bring has to leave with you. Some things are obvious, like don’t leave an empty water bottle or a plastic food wrapper. But remember, you also shouldn’t toss an apple core. But wait, you think, isn’t that composting? NO. You are introducing something unnatural to the environment and that could have bad effects. Not to mention that now people that come after you have to smell your rotting apple. I like to pack an extra plastic grocery bag in my daypack to put any trash in!
Right of Way – Yup, just like on the road. If you need to yield step carefully off the trail, being aware of plants and animals nearby. It’s usually better to step downhill. Now this might vary trail to trail based on usage but generally:
Hikers going uphill have the right of way
Bikes yield to hikers and horses
Hikers yield to horses – always step slowly to the side so not to startle the horse. If coming up behind a horse, make yourself known to the rider and animal.
Make Yourself Known – it’s always nice to greet a fellow hiker plus it’s great to not be startled by someone coming up behind you. I try to say hello to everyone I see on a trail and I’m always surprised how few reciprocate. It’s always good to foster a friendly trail atmosphere.
Stay on trail – going off trail can hurt the local plants and animals. You’re in their home, don’t mess it up! In this vein, it’s better to walk through a puddle or mud. Widening trails like that is bad for sustainability. If it’s rainy or muddy, maybe leave the hiking for another day!
If you have to go off trail to relieve yourself (it happens), make sure to be at least 200 feet away from the trail and any water sources. Leave No Trace applies to toilet paper too!
Leave Wildlife Alone – Don’t try to approach animals, this could be potentially dangerous to you and also hurt the habitat. Animals want their space too! Also don’t feed the wildlife, this disrupts their foraging habits and wrongly teaches them that humans provide food
Enjoy the Quiet – Nature is so peaceful and nothing ruins it more than a loud group or someone playing music. Personally, I only use my phone for taking pictures on the trail, but just bring headphones if you want to listen to something. Just be cautious of your surroundings and only ever have one headphone in at a time! Remember, you don’t want to ruin someone else’s peaceful hike.
Pets – If bringing your furry friend, always keep them on a leash. Make sure they can stay under control if you encounter wildlife! And bring bags to carry out pet waste. Aside from litter, nothing enrages me more than dog poo on the trail! C’mon people!
Be Prepared – This may sound self explanatory but seriously make sure you know what you’re getting into!
Wear proper clothing for the trail conditions. Bring a jacket if the elevation changes a lot, or a rain jacket if you anticipate precipitation. Wear the right shoes and have crampons if it’s snowy or icy
Look over the trail map before heading out and know approximately how far you’re going. If applicable, know what trail blazes to follow
Bring plenty of water! Yes it’s heavy but when you’re hiking sometimes you don’t even realize that you’re getting dehydrated until it’s too late! I bring a huge bottle with me and also leave some in the car
If you’re going for a long hike, make sure to have some snacks to keep you going. We almost always pack a lunch to have during our hike.
Check the weather before you leave! Weather conditions can change so quickly and you don’t want to get caught outside during severe weather
Let someone know where you’re going, especially if you’re hiking alone
At the end of the day, respect is the key to trail etiquette. Have respect for other hikers and for the plants and animals whose home you’re visiting. Now get outdoors!
King and Queen Seat at Rocks State ParkWeverton Cliffs